We are yet to get over the buzz around Google Analytics 4 and its impeccable features. Last year in March, the team announced that they were shutting down the Universal Analytics properties in July 2023. Since then, every user has started preparing to understand, adopt, and implement the new Google Analytics 4 from the inside out.
Now that everyone has finally gotten along with this Analytics version, a new integration has erupted. It is none other than the connectivity between Google Analytics 4 and Shopify.
Well, it was on the card for both Google Analytics and Shopify users anyway.
Earlier, this was not the scenario. Users can’t connect Google Analytics to their Shopify store with the Universal Analytics tracking ID. However, the new update has changed everything and has become its primary prospect.
As a result, the urge to connect Google Analytics 4 to the Shopify store has reached its peak.
To help those Shopify merchants and marketers, here we bring a comprehensive guide on “how to connect Google Analytics 4 to a Shopify Store.”
Table of Contents
Setting up Google Analytics 4 for your Shopify Store
Setting up Google Analytics 4 in your Shopify store is only a matter of a few clicks. I won’t state that it is easy. But also not that difficult either. However, once you complete the connection, you will enable numerous benefits. Starting from better content and SEO optimization to PPC and user management.
To begin with, you need to first:
Add Google Tag Manager (GTM) to Your Shopify Store
Follow the procedure below to begin the GA4 setup in your Shopify store.
Step 1: Sign up/register to create a new Google Tag Manager (GTM) Account. If you already have one, log in directly
Step 2: Click on Admin, then “Install Google Tag Manager” from the options

Step 3: Copy the initial part of the GTM installation code

Now, hold this part for a while. Paste the copied code into your notepad or sticky notes.
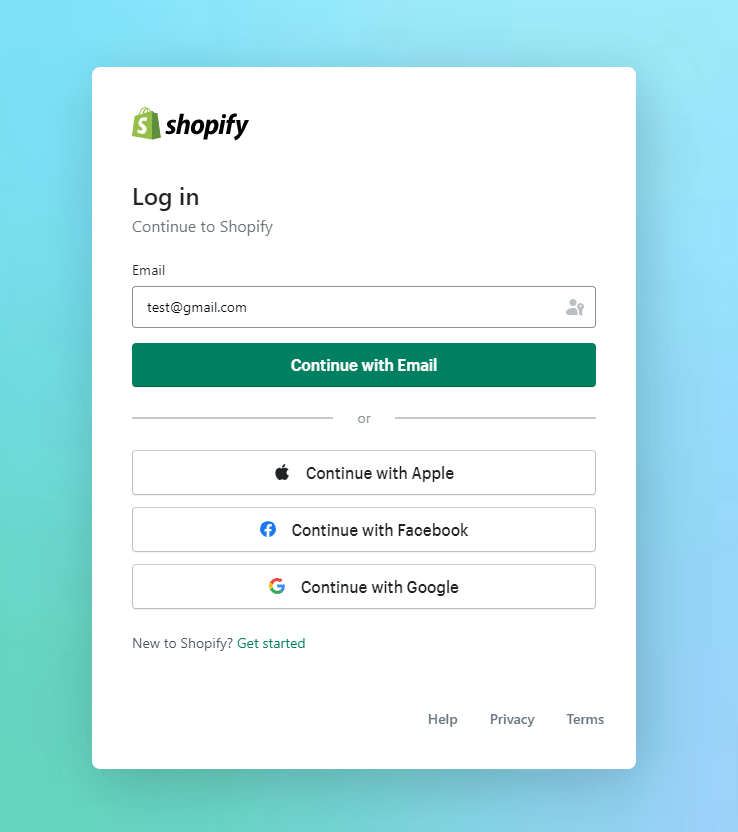
Fourth Step: Log in/Sign in to your Shopify store
Step 5: Click on Themes under the “Online Store” menu and then on the three dots to edit code

Step 6: Search and click on the “theme.liquid“ file
Now, revert to your Notepad or Stick Notes to select and copy all the GTM codes.

Step 7: Paste it in the header section of the HTML file of the theme. Liquid file and click on the Save
Note: If you are using Shopify Plus, add the GTM code to the checkout.liquid file

Step 8: Now, click on the exit button => settings => checkout

Step Nine: Scroll down to the Order status page

Step 10: Paste all the GTM codes inside the “Additional Scripts” and save

11th Step: Now, open your Google Chrome and install the Google Tag Assistant extension

Final Step: Browse back to the home page of your Shopify Store and click on the “Google Tag Assistant” icon on the top right side, next to the browser address bar.
It will show Google Task Manager installed on your Shopify Store.
Now this completes the full-fledged installation process of GTM to your Shopify Store. It is indeed a vital initial process that leads to the GA4 setup.
Next, add the Google Channels app to your Shopify store for more diverse results and business operations.
Add Google Channels App to Your Shopify Store
Follow the below step-by-step process to add the Google Channels App to your Shopify Store:
First Step: Log in/Sign in to your Shopify Store and click on the “Apps & Sales Channel” under Settings

Second Step: Click “Shopify App Store”

Third: Type “Google Channel” in the search box to find Google Channels

Fourth: Choose “Google & YouTube”

Fifth: Click on the “Add App”

Six: Then, “Add Sales Channel.”

Seven: Hit “Connect Google Account.“
Eight: Then, “Get Started” under “Looking only to set up Google Analytics 4”
Final Step: Choose your “Google Analytics 4 Property” and Click on Connect
A message will pop up, notifying “You have successfully set up Google Analytics 4”!
Configure Your Shopify Store for GTM
To configure your Shopify store for Google Task Manager (GTM) or Google Channel App Tracking, find and delete all the hard-coded data layers present in one or many of your theme files related to the following eCommerce events:
- View_item
- Add_to_cart
- Add_payment-info
- Being-checkout
- Purchase
All these events will be automatically tracked once you start using the integrated Google Channel App.
Now, add the data layers to your theme files related to the following eCommerce events:
- View_Cart
- Select_Item
- Select_Promotion
- Remove_from_Cart
- Add_Shipping_Info
- View_Promotion
- View_Item_List
Run Tests of Your GA4 Shopify Tracking Setup
Now, after all the setup hustle, it’s time for the final segment, which is “Testing.” Let me put this straight; you can do the testing by yourself or hire a professional to do it for you. However, self-doing might confuse you and create complexities if you miss a single debugging point. So it’s better to hire Shopify developer from a renowned shopify development company and do the needful.
Conclusion
Every time your customer or any new visitor navigates your site for a couple of minutes, they leave enormous digital footprints. By optimizing those footprints or data, you prepare the best strategy, which helps you generate high-end ROI.
The connectivity between Google Analytics 4 to your Shopify store will only enhance your opportunity to access more digital footprints and harness result-driven marketing solutions.
Connecting both might sound daunting, but you have a professional who can ensure more excellent connectivity. Hence, partnering with Metizsoft Solutions – a certified Shopify development company sounds wise and precise.